CORONA AIR PAINT · SOUTHERN CALIFORNIA
Our aircraft painting process
See the work behind the finish—from inspection and stripping to the completed aircraft.
FROM INSPECTION TO FINAL DETAIL
What happens beneath the finish.
Explore the stages of a complete metal-aircraft repaint, from initial evaluation to final detailing. Each aircraft is assessed individually; methods and scheduling vary for metal, composite and fiberglass surfaces.
Planning a Cirrus composite-aircraft repaint? ↗STEP 01
Inspection before work begins
We inspect the aircraft for aluminum damage, corrosion and major dings, and check cowl fasteners, fiberglass and plastic parts, and plexiglass.
STEP 02
Protect and disassemble
Windows, door seams, plastic parts and antennas are protected with aluminum tape and foil. Cowlings, wingtips, fairings and inspection plates are removed. Our full-paint process includes new stainless steel hardware for the removed pieces; confirm the hardware scope and any specialty-fastener exclusions in your quote.
STEP 03
Remove the old finish and clean
Paint is carefully removed from metal surfaces. The stripped pieces are detailed and cleaned, and the aircraft is washed with a high-temperature steam pressure washer to remove stripper residue.
STEP 04
Treat the aluminum
Aluminum surfaces are acid etched and treated with Alodine as part of the corrosion-protection process before refinishing.
STEP 05
Repair and prepare the surfaces
Areas requiring fiberglass, filler or metal work are addressed. Plastic and fiberglass components are sanded and repaired as needed. Major or time-consuming repairs may cost extra and should be identified in the agreed scope.
STEP 06
Primer and base color
The aircraft receives primer and a white base coat, or the customer’s selected base color. We use aviation paint systems selected for your aircraft and the agreed finish. Discuss the specific products and colors with us when planning your project.
STEP 07
Lay out the new paint scheme
The aircraft is temporarily assembled to lay out and tape the new scheme. This lets the lines and design carry across adjoining components.
STEP 08
Apply accents and registration lettering
The scheme is masked and scuffed before the stripe colors are applied. Registration lettering is also prepared and painted. Our standard lettering is 12 inches tall; confirm the size and layout applicable to your aircraft.
STEP 09
Unmask and detail
After the colors are applied, the masking paper and tape are removed and the finish receives its final detailing.
STEP 10
Reassemble and finish
The aircraft is put back together and finished. The completed project brings the surface preparation, base color, accent scheme and final details together.
THE FINISHED WORK
The result is worth the preparation.
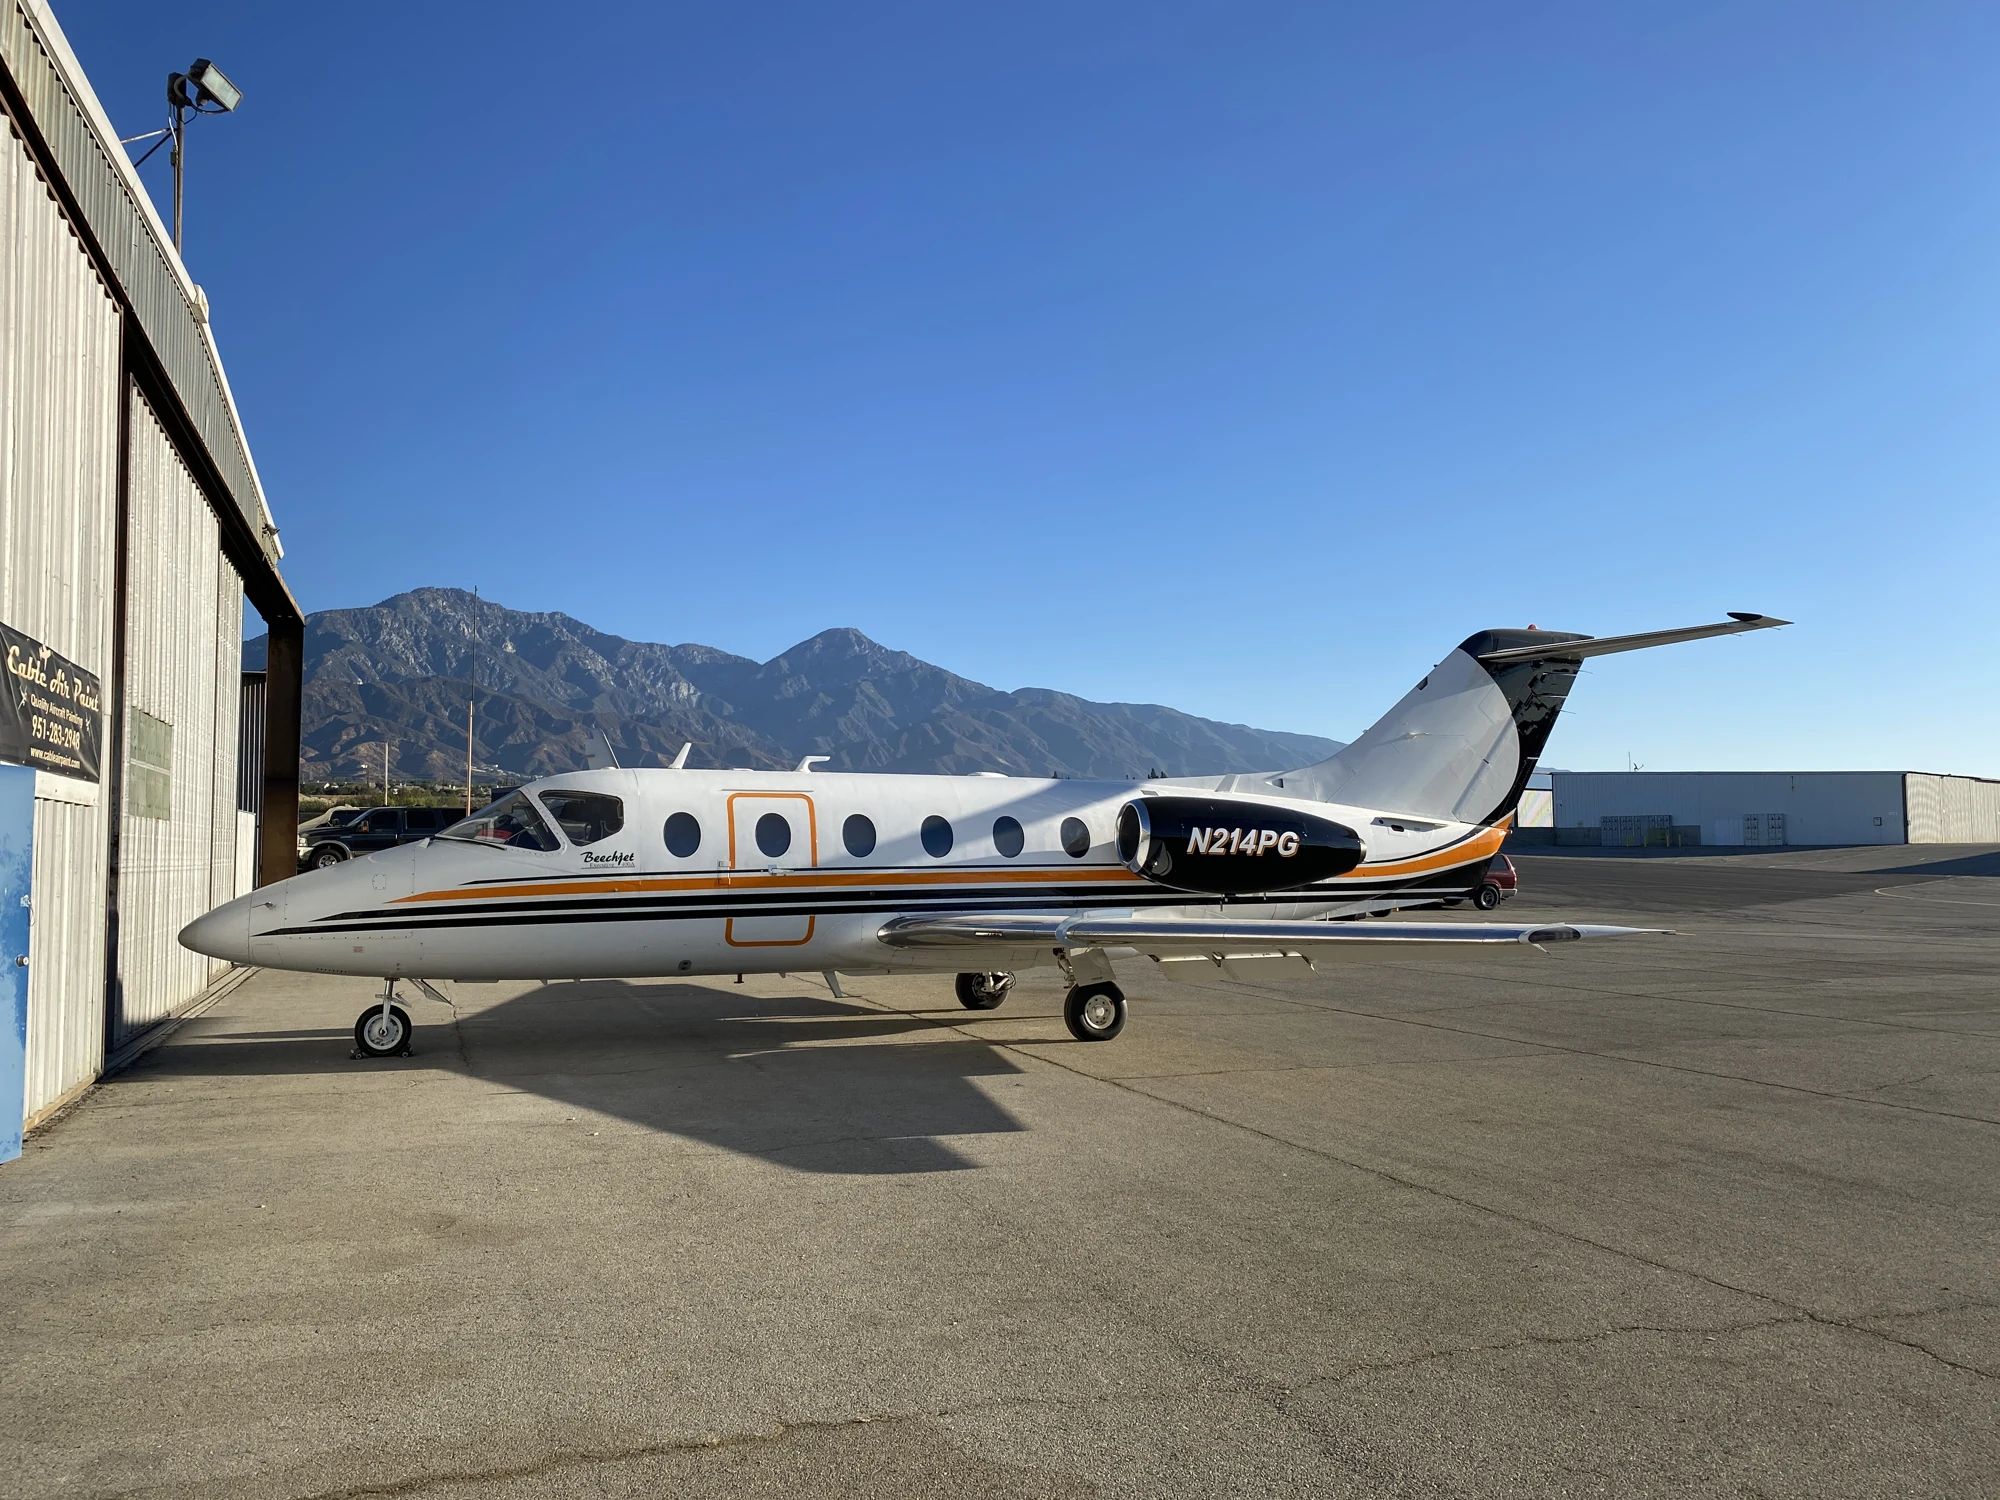
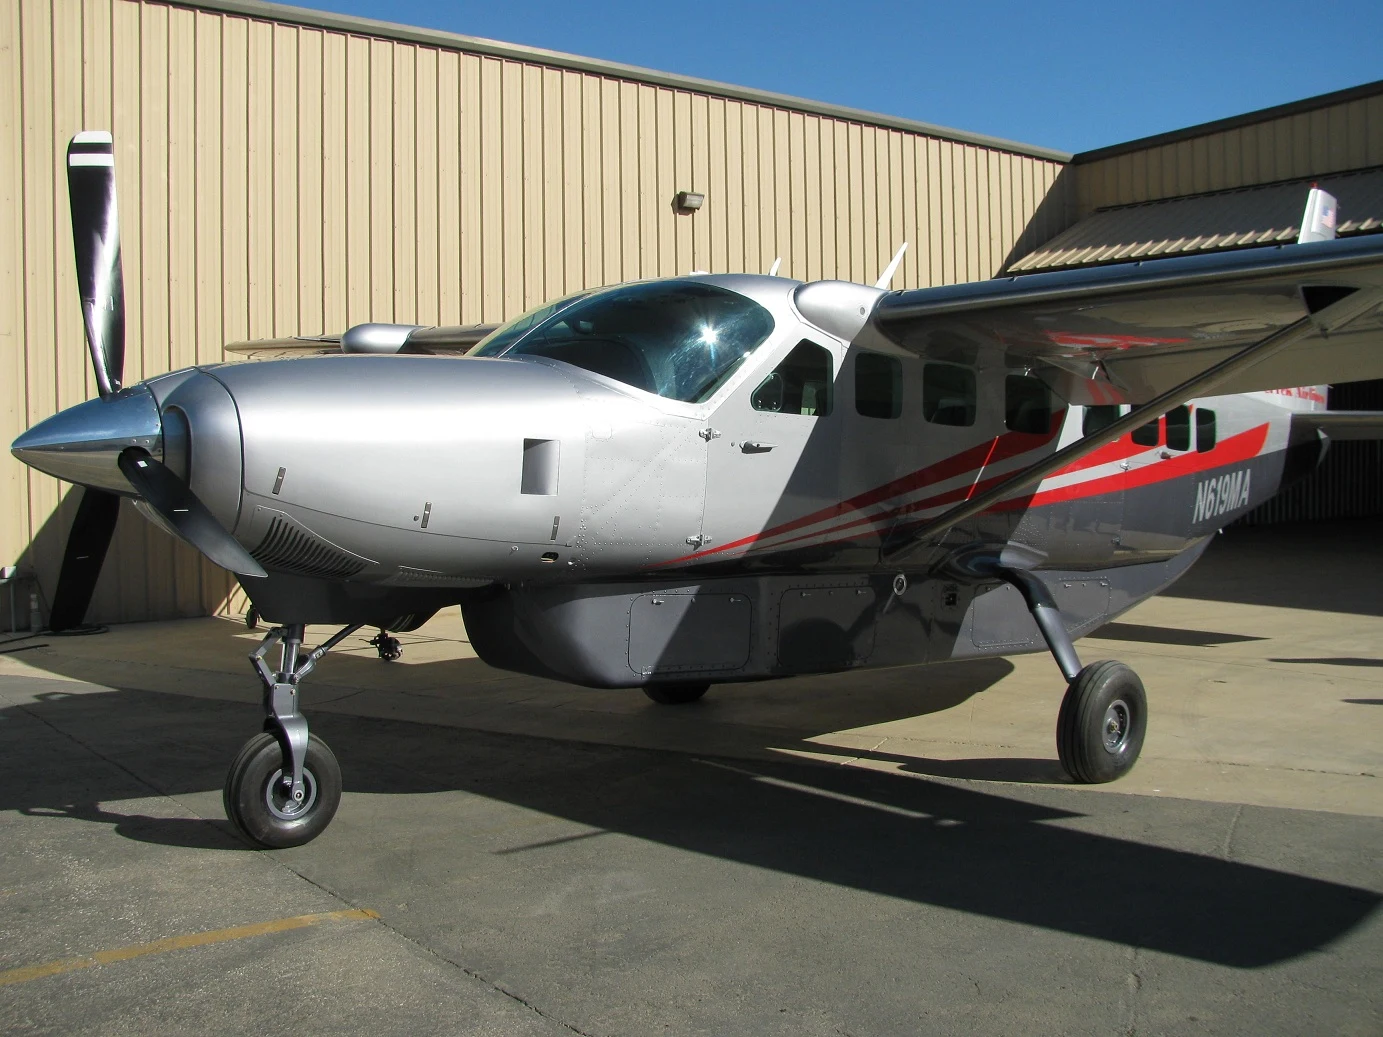
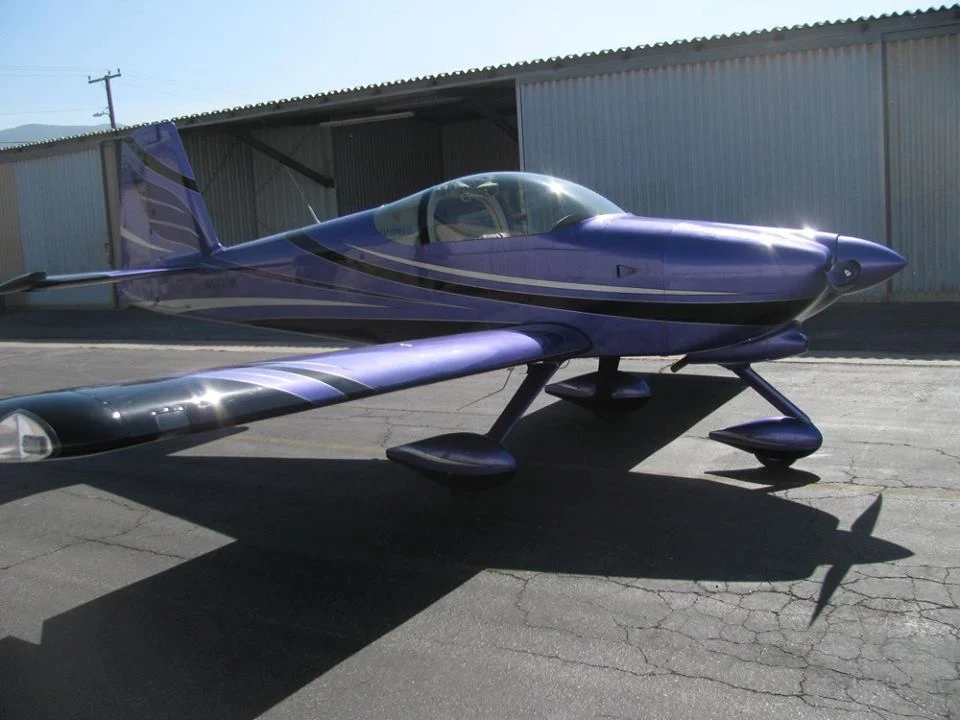
Selected aircraft from our portfolio, photographed after refinishing. View the complete project gallery to explore additional color combinations and aircraft types.
LET’S TALK ABOUT YOUR AIRCRAFT